I hope you’ve been practicing your basic strokes as shown in Part 1 of this blog series. On to Part 2, where we go into more advanced strokes and how to start combining strokes into letters.
Don’t Forget the Basics
Before you go further, don’t forget the basics of brush lettering:
Hold your brush pen at roughly a 45 degree angle, so a bit on the side of the full felt tip so you can use more than just the point.
Remember that Up is thin and Down is thick.
If you’ve forgotten any of these basics or are freshly new to brush lettering, you can read more about these in Part 1 of this series of blogs before you move forward.
More Advanced Strokes to Practice
Hopefully you’ve been practicing your basic strokes, such as the up stroke, down stroke, hill, valley, and squiggle strokes so that you are ready to move to these more difficult strokes. Again, more on these strokes can be found in Part 1 of this series. These strokes are a bit more challenging so it’s best that you’ve learned how to use your brush pen and practiced a bit before moving to these.

The Leaning Hill, letter “o”, Vertical with Overloop, and Vertical with Underloop strokes are a bit more challenging.
The Leaning Hill: similar to the regular hill but at an incline, combine the up and down strokes. This will form entry strokes for some letters as we move forward.
Letter “o”: this is basically a down stroke that curves into an upstroke, and ends curved back to the beginning
Vertical with Overloop: start at the middle going up, then curve left for a strong vertical stroke. This will be taller, and is used in letters like an “h” that has a ascender that is taller than other lowercase letters.
Vertical with Underloop: Start at the vertical and go all the way down, transitioning to an upstroke at the bottom and crossing back right over the vertical. This will form part of letters like a “j” that have a descender that go below the baseline of the other lowercase letters.
Practice all the Strokes
Spending a little time each day practicing all the strokes is a great way to get better at controlling your brush pen and prepare you to create letters. People call this practicing your “drills”. Basically just doing a bunch of each stroke over and over to build muscle memory and have it come more naturally. Try it, it’s fun and can be done while listening to your favorite podcast or tunes! Save the below images and print them out to practice daily.


So, How Do I Make Letters?

The lowercase letter “a” is just an “o” stroke and a downstroke combined.
You’ve now learned a bunch of strokes, but how do these form letters? All letters are made up of single or multiple strokes, so all of these basic strokes are just the building blocks to make letters. Can you think about a letter “a” and how it might be formed with the strokes you’ve learned already? What about the letter “y”? And now how about an “h”, a “b”, and an “m”? See, it’s just combining the strokes you’ve already learned to create the letters. Neat, right?
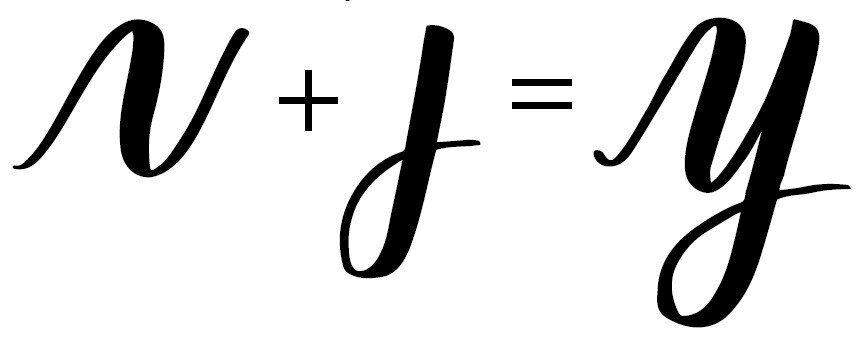
A lowercase letter “y” is made from combining the squiggle and a vertical with under loop stroke. Wow!
Part 3 - Getting Started With Brush Lettering
Don’t forget to go slow and keep practicing your strokes, since these form the foundation of the letterforms to come. Part 3 of this blog will go over the lowercase alphabet in more detail, so stay tuned!
Additional Resources
If you've enjoyed this short tutorial, consider signing up for one of my workshops on hand-lettering and illustration, including new brush lettering classes, which can be found on my Workshops page on my website. You can follow me on Eventbrite to get notifications when I announce a new online or in-person workshop and grab tickets before they sell out.